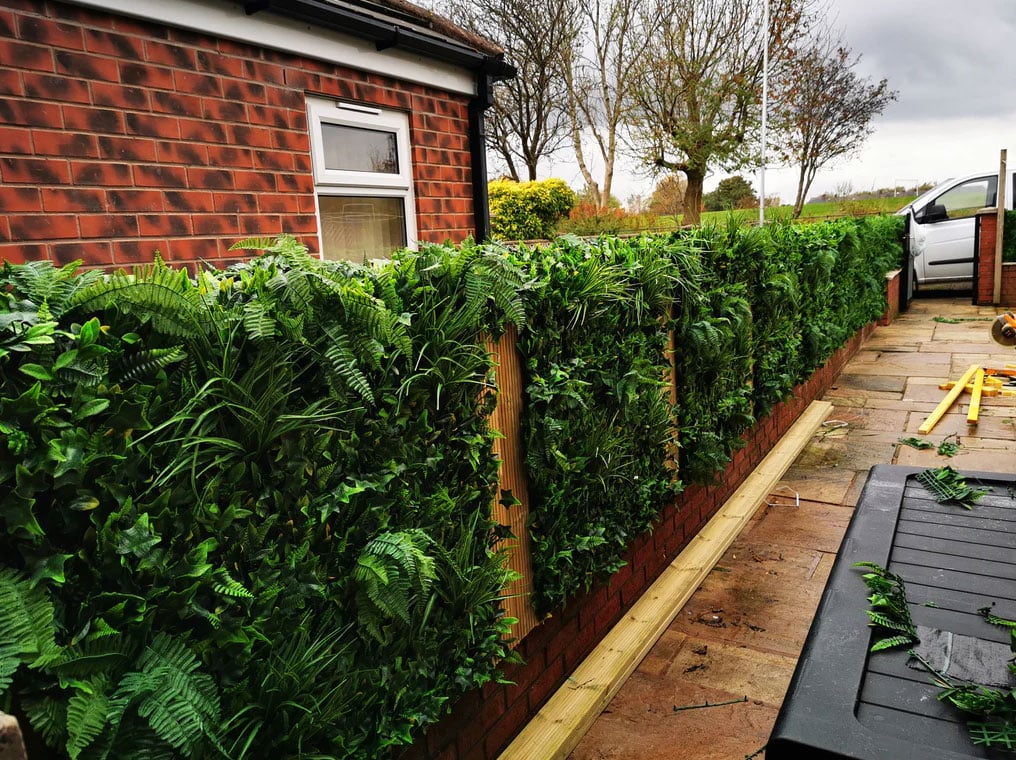
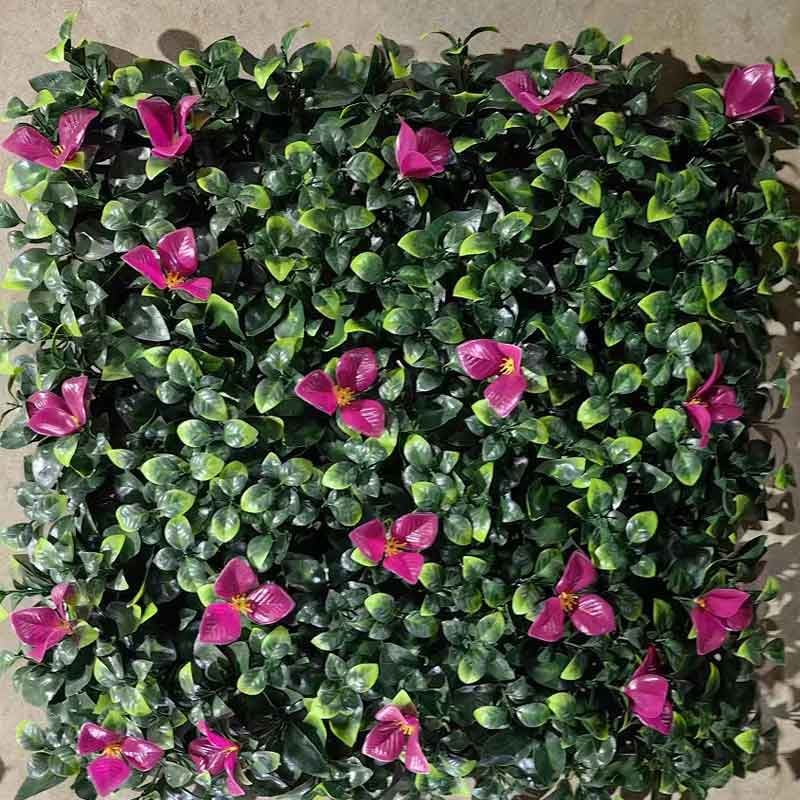
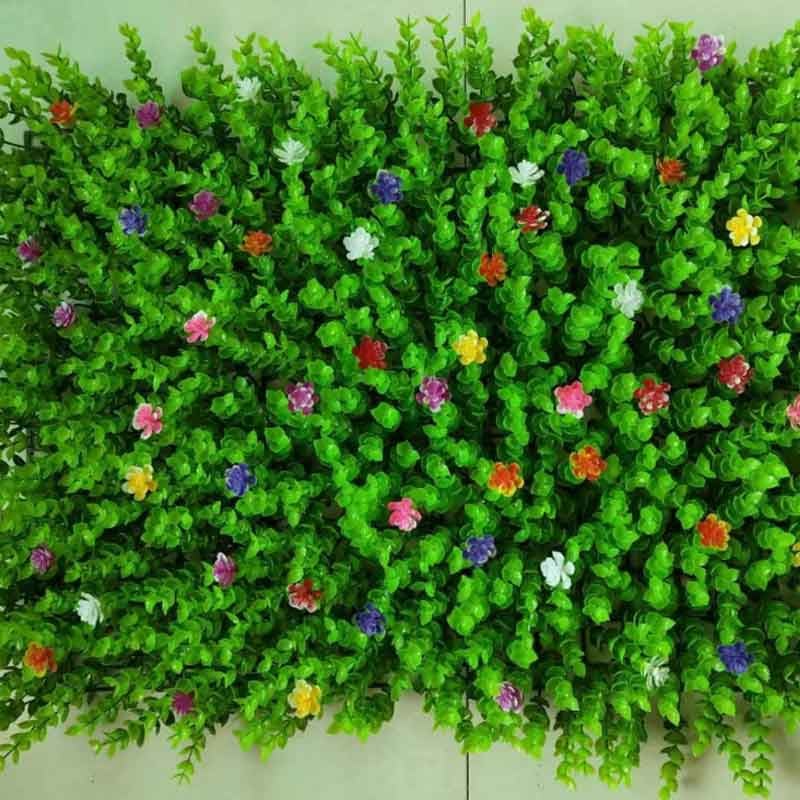
Artificial hedges are an excellent way to add greenery and privacy to any space, especially in areas where maintaining live plants may be difficult. They are commonly used to cover unsightly surfaces, enhance privacy, or simply add an aesthetic touch to outdoor and indoor spaces. However, one of the most common questions people ask is how to attach artificial hedge to a brick wall. In this guide, we’ll walk you through the steps to securely install artificial hedges on a brick surface.

Why Choose an Artificial Hedge for Your Brick Wall?
Before diving into the installation process, it’s important to understand why artificial hedges are an ideal solution for brick walls:
- Low Maintenance: Unlike real plants, artificial hedges don’t need water, pruning, or sunlight, making them perfect for both outdoor and indoor installations.
- Durable: High-quality artificial hedges are UV-resistant and weatherproof, making them ideal for outdoor spaces where harsh weather conditions could harm real plants.
- Instant Results: Artificial hedges provide an instant transformation. There’s no waiting for plants to grow or fill in, and they maintain their appearance year-round.
- Aesthetic and Privacy: Installing an artificial hedge on a brick wall enhances the beauty of your space while providing added privacy.
Tools and Materials You Will Need
To attach an artificial hedge to a brick wall, you’ll need the following tools and materials:
- Artificial hedge panels
- Drill with masonry drill bits
- Wall anchors or plastic plugs
- Screws
- Cable ties or zip ties
- Tape measure
- Pencil or marker
- Level
- Mounting grid or wire mesh (optional)
Step-by-Step Guide on How to Attach Artificial Hedge to Brick Wall
Follow these steps to securely and safely attach artificial hedges to your brick wall:
Step 1: Measure and Plan the Area
Before you start the installation, measure the area of the brick wall where you want to attach the artificial hedge. Knowing the exact dimensions will help you determine how many hedge panels are needed and where to place them for even coverage.
- Use a tape measure to mark the width and height of the area.
- If necessary, use a pencil or marker to outline the placement of each hedge panel on the wall.
- Ensure that the measurements align with any existing features (e.g., windows, doors) to avoid overlapping.
Step 2: Choose Your Mounting Method
There are several ways to attach artificial hedge panels to a brick wall. Depending on the weight of the hedge and the condition of the brick surface, you can choose one of these methods:
- Directly attaching with screws: This is a secure and permanent method that involves drilling into the brick and using screws and anchors to hold the hedge panels in place.
- Using a mounting grid: If you want to avoid multiple holes in the brick, you can attach a wire mesh or mounting grid to the brick wall first. Then, you can tie the hedge panels to the grid using zip ties.
- Adhesive options: In some cases, you might be able to use heavy-duty construction adhesive to attach lightweight artificial hedges to the brick wall. However, this method is less common for outdoor use as it may not hold up well in different weather conditions.
For a secure, long-lasting installation, we’ll focus on using screws and wall anchors.
Step 3: Drill Holes in the Brick Wall
- First, mark the spots on the brick wall where you will place the screws. The holes should be spaced evenly around the edges of each hedge panel to provide full support.
- Use a masonry drill bit to drill holes into the brick at the marked locations. Drill holes deep enough to fit the wall anchors or plastic plugs you will use.
- Avoid drilling into the mortar between bricks as it may not provide the same level of stability as the bricks themselves.
Step 4: Insert Wall Anchors
- After drilling, insert wall anchors or plastic plugs into the holes. These anchors will provide extra support for the screws and ensure that the hedge panels stay securely attached to the brick.
- Lightly tap the anchors with a hammer if needed to ensure they are flush with the wall surface.
Step 5: Attach the Hedge Panels
- Position the artificial hedge panels against the brick wall and align them with the holes you’ve drilled.
- Use screws to attach the panels to the wall, screwing them into the wall anchors. Ensure the panels are level as you go to prevent uneven installation.
- Tighten the screws securely to ensure the hedge panels stay in place but avoid overtightening, which could damage the panels.
Step 6: Connect Multiple Panels (if necessary)
If your installation requires multiple panels to cover a larger area, connect the panels together using zip ties or cable ties. Many artificial hedge panels come with built-in interlocking systems or loops designed for easy connection.
- Position each panel side by side, making sure the leaves or branches overlap slightly to hide any visible seams.
- Use zip ties at the top, bottom, and sides to connect the panels securely.
Step 7: Make Final Adjustments
Once the panels are installed, step back and check for any gaps or uneven spots. Adjust the panels as needed to ensure a seamless, natural look.
- Trim any excess zip ties or cable ties.
- Fluff and adjust the leaves or branches of the artificial hedge to cover any visible screws or fasteners.
Optional: Install a Mounting Grid or Mesh
If you prefer not to drill multiple holes into the brick wall, consider installing a mounting grid or wire mesh first. Here’s how you can do it:
- Attach the grid or mesh to the brick wall using screws and wall anchors, ensuring it covers the area where the artificial hedge will be installed.
- Once the grid is secured, use zip ties or clips to attach the hedge panels to the grid.
- This method is especially useful if you plan to remove or change the hedge in the future without damaging the brick wall.
Maintenance Tips for Artificial Hedges
Artificial hedges are incredibly low-maintenance, but a few simple tips can help keep them looking fresh and vibrant:
- Cleaning: Dust and dirt can accumulate on outdoor artificial hedges. Use a soft brush or hose down the panels with water to keep them clean.
- UV Protection: If your hedge is installed outdoors, ensure that the material is UV-resistant to prevent fading from sun exposure. High-quality artificial hedges often come with UV protection, but applying a UV spray annually can provide extra protection.
Conclusion
Attaching an artificial hedge to a brick wall is a relatively simple process that can dramatically improve the appearance of your outdoor or indoor space. By following the steps outlined above and using the right tools, you can securely and safely install artificial hedge panels, transforming a plain brick wall into a lush, green, and visually appealing feature.
Whether you’re aiming for added privacy, an aesthetic boost, or simply a low-maintenance decorative solution, artificial hedges offer a versatile and attractive option for any brick surface.


